Raeder Industries

GP35-38

Not quite right

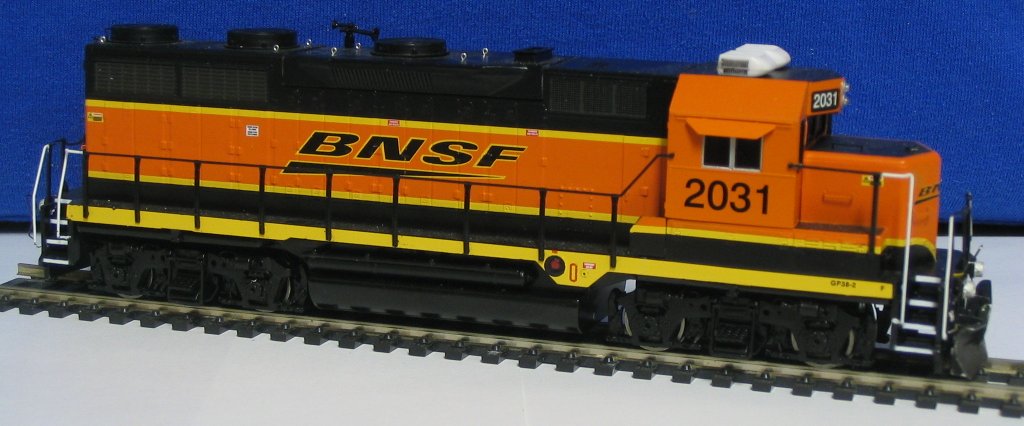
This locomotive was a gift from a good friend of mine, whom I have done some work for from time to time, and he had this GP38-2 that didn't fit with his fleet of GN equipment and power, so he gave it to me. I started researching this unit, looking up photos to see what the unit looked like and that sort of thing, and found out it had a rather interesting history.

Rebuild

What I found was that the unit started life as a GP35, which was how it came from the Athearn factory, full fans and everything. Later on it was converted to a GP38-2 by installing upgraded electronics and a 645 prime mover, no turbo, and had a few other upgrades as well as being repainted into the BNSF "swoosh" scheme (Think Nike shoes).

Why

After thinking about it for a bit, I finally figured out why this locomotive would be a good candidate for the rebuild described above. Other than needing more modernized mid-range power units in the fleet, this unit actually carries a few advantages over a stock GP38-2.

Number one is the brakes. This unit still carries the double-clasp brakes from the earlier -35 series. The -38's were the first to use the single-clasp design, and were reported to be rather "slippery," that is, they didn't stop real well. At least, not as well as the earlier locomotives with the double-clasp design. Having double-clasp (brake shoes on both sides of the wheel) would be an improvement to the unit.

Number two is the new engine. The old one was turbo-charged and generated 2500 HP. The new one was non-turbo charge and generated 2300 HP. Almost the same output, minus the headache of turbo maintenance.

Number three is cost. Much cheaper to rebuild an existing unit than to buy new.

My work

I didn't have to do much with this unit, which was just fine by me. I've been working on some big projects, sometimes it is nice just to have a little one to work on nearby while glue is drying on the bigger one.

Long Hood

The only real change I made here was to install the cover plate in place of the center radiator fan, and install the horn on that. A small stand was fabricated out of strip plastic and glued on, and the horn mounted on that, then the cab hole was plugged.

Cab

Not much changed here, either. The unit is now sporting a pair of RV air conditioners, with a little drybrushed black on the grilles to show the vents, and that is about the extent of it.

Nose

The class lights were removed when the unit was rebuilt, so I shaved mine off, and painted over their locations. Not much work, but I had to be careful not to take off the wrong thing. I did alright, though when I get that color in my airbrush again, I'll be revisiting this unit for some more cover-up on the class light spots.

Pilots

The pilots are probably the most highly detailed location on the entire locomotive. I installed air lines, MU hoses and cables, and pin lifters and brackets, as well as the Sergeant couplers, when I get done inside the shell. I also installed ditch lights front and rear. Yes, rear too! The unit does have 'em. Handy if you get sent up a branch with no place to turn around. We have branches like that on the layout, so I figure I've got things covered.


Not a whole lot of progress lately...
I thought I was done. Everything was mounted, wired, and ready. It tested good, and I put the shell back on.

And it wouldn't seat.

The wires going to the ditch lights are too thick, and the shell can't seat. So now the unit is in pieces, completely pulled apart so I can grind down the frame. I'll have to wait for things to warm up a bit outside for that...
Make a Free Website with Yola.